Apple has launched a new data and privacy portal that allows you to make changes to your account. Our accounts hold essential information relating to us within them and sometimes it may be time to erase all that information. This portal allows you to control your account and even Delete Apple ID if you wish.
Today we will be going through the different ways to delete and sign out of your Apple ID. Additionally, We’ll show you how to disable your iOS devices, sign out of them all, remove devices from the account. Let us jump right into the tutorial!
Contents
How to Remove Devices Associated With Your Apple ID
This one can be useful when you buy a new device or sell off an old one. You don’t want to cause problems after you are no longer using the device! There is an easy way to Delete Apple ID. There are two ways to delete Apple ID, let us go through them.
A) Removing the device associated via the web
Step 1 – First of all, go to this site: appleid.apple.com and just log into your Apple ID.

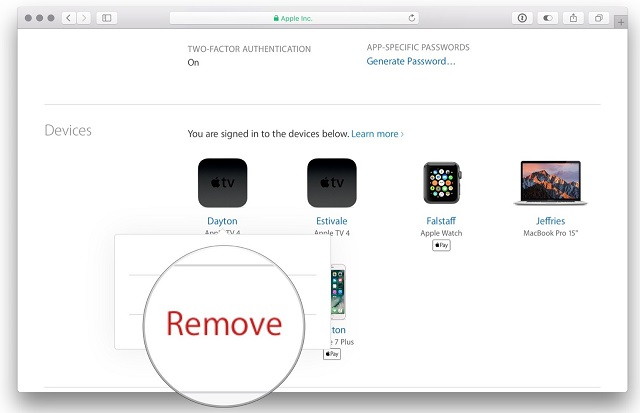
Step 2 – After that, go to the devices section. There will be a list of all your devices. Choose the relevant device and click on Remove.

Step 3 – You will be prompted again, just click on Remove again.
That will completely Remove the device you wanted to remove. You can remove others the same way.
B) Removing the Device Associated Via iOS
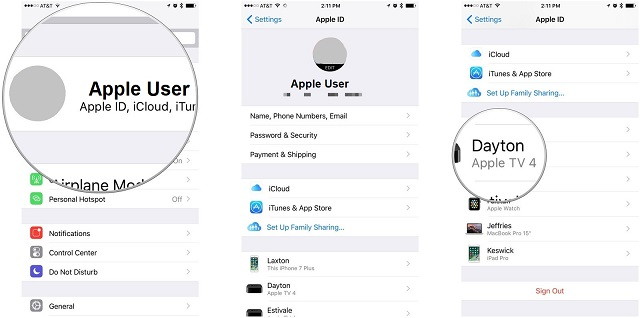
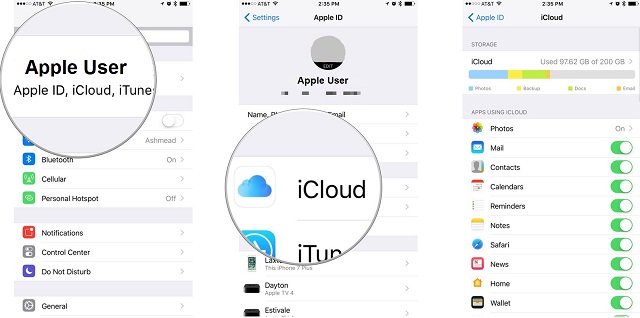
Step 1 – On your iOS device, open settings.
Step 2 – Inside your settings, you should see your Apple ID. Ideally, it will be a photo of you.
Step 3 – Tap this banner and scroll down to the last section. There will be a list of all your Devices.
Step 4 – Tap on the Device you wish to remove and then tap on Remove Device.
Step 5 – Confirm this action by tapping on Remove Again.
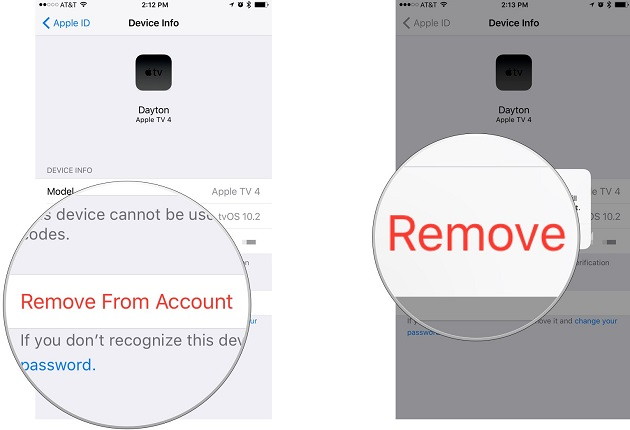
It is it, and your device is removed from your Apple ID.
How to Disable Find My Device Option on iPhone, iPad, Mac
Find my iPhone is a little setting that allows you to track your phone if you lose it or if it gets stolen. It is pretty impressive, and you should not deactivate it unless you are trying to get rid of your Apple ID. In that case, you should lose disable it.
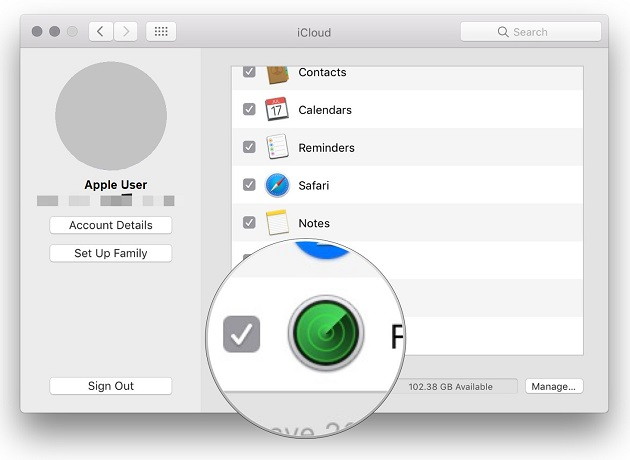
A) How to Disable Find My Device on Mac
Step 1 – On your Mac, launch System Preferences.
Step 2 – Click on iCloud and after that, navigate to the Find My Mac option.
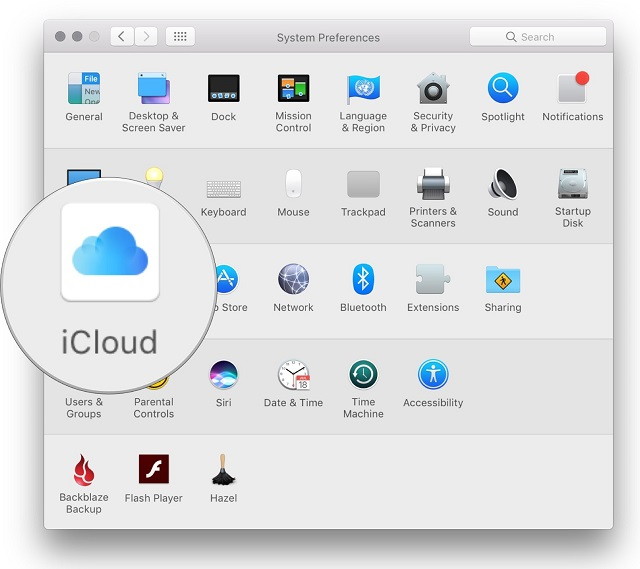
Step 3 – Just untick the checkbox on this option. After doing this, you will be prompted to enter your Apple ID. Confirm it and you are done.
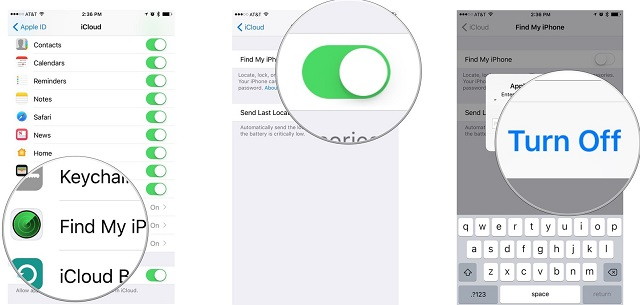
B) How to Disable Find My Device on iPhone/iPad
Step 1 – As above, launch the Settings option. Tap on your Apple ID banner and then tap on iCloud.
Step 2 – Now, turn off Find My iPhone/iPad and confirm with your Apple ID.
How to Sign Out Completely
Once you have removed the devices from everywhere, signing out from everything is very simple. Let us begin.
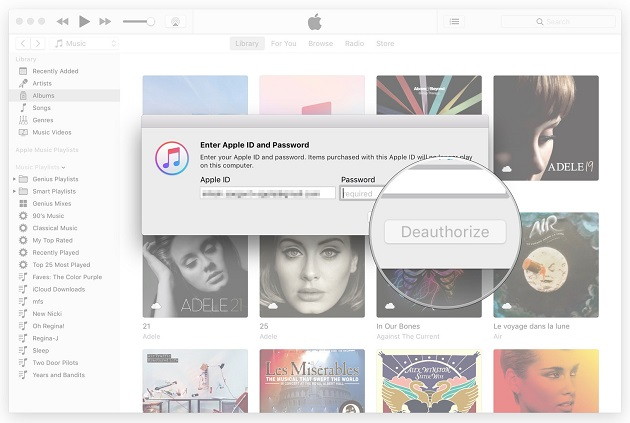
This is an important step. If you do not deauthorise devices, you could use up all your limited steps. Deauthorizing gives you extra space for another iOS device on your iTunes.
Step 1 – First of all, you need to open iTunes. After that, in the Menu of Mac, open Account option.
Step 2 – Click on the option which says “Authorizations”. After that, simply click on “Deauthorize this computer”. This option will Deauthorise the Mac.

Step 3 – You will be then asked to re-enter your Apple ID credentials and then confirm your Deauthorization.
B) Sign Out of the Apple ID on Mac
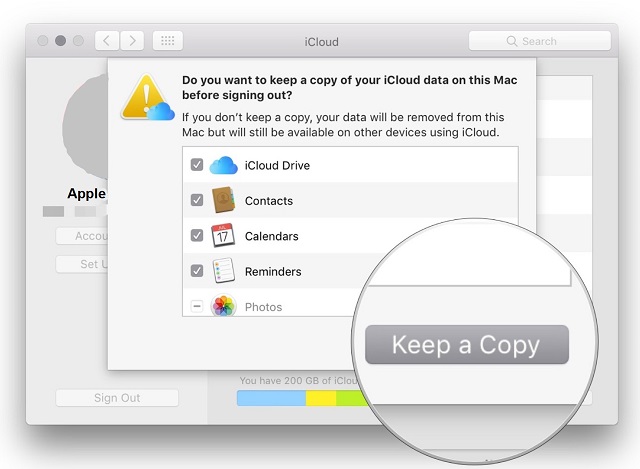
Step 1 – To log out of your Apple ID on Mac, launch System Preferences and then iCloud.
Step 3 – On the bottom left, under your Apple ID, you should see the Sign out option.

Step 3 – You can click Continue now.
C) Sign Out of Your Apple ID on iOS
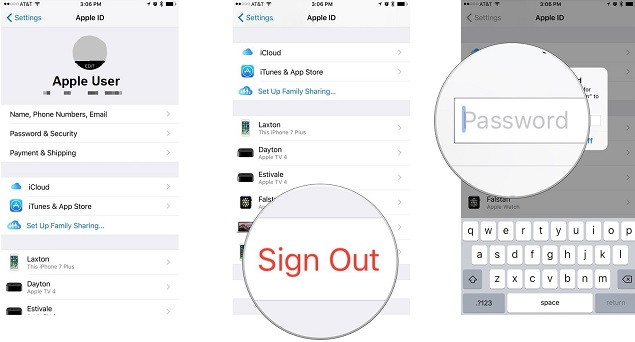
Step 1 – On your iOS device, launch the Settings app. Now, you need to tap your Apple ID banner.
Step 3 – Next, scroll down and tap Sign out. As usual, you will be asked you re-enter credentials and confirm.
Deleting your Apple ID using Apple’s Data and Privacy Portal
Finally, it is time to delete your Apple ID. Just follow the steps below to know how to Delete Apple ID.
Step 1 – Here is the link to the portal: privacy.apple.com
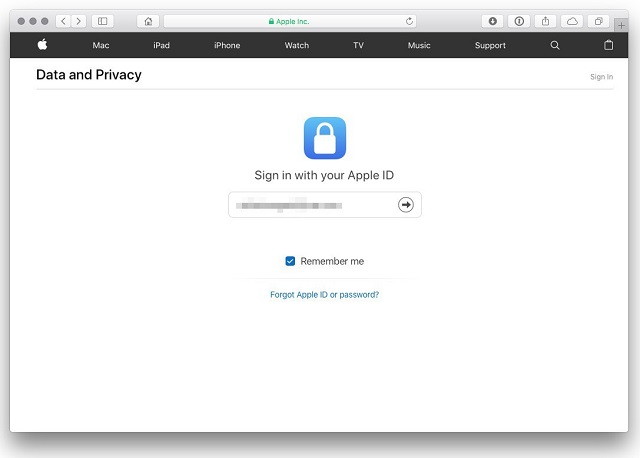
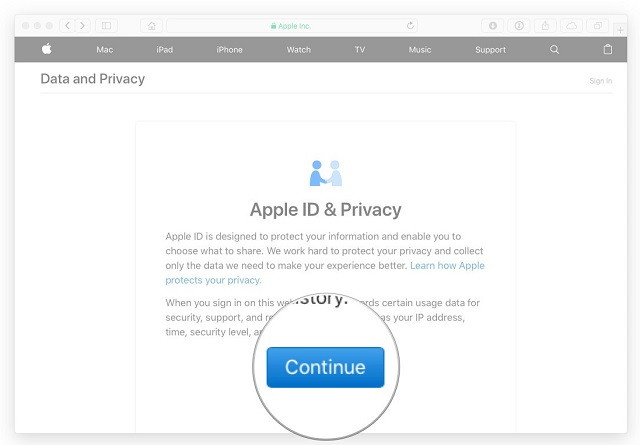
Step 2 – The link will lead you to a login page. Insert your Apple ID Credentials and Log in.
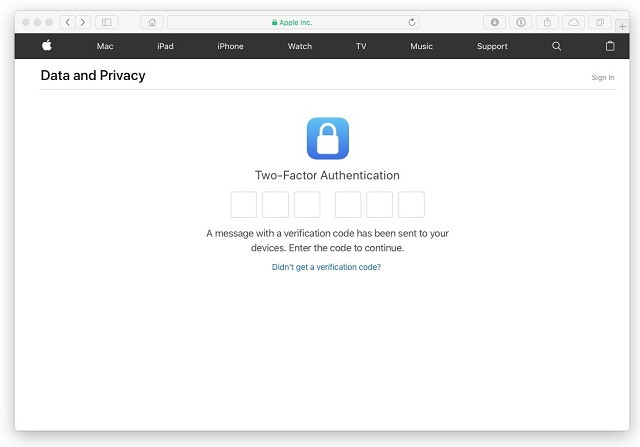
Step 3 – Just click Continue and get done with your Login.
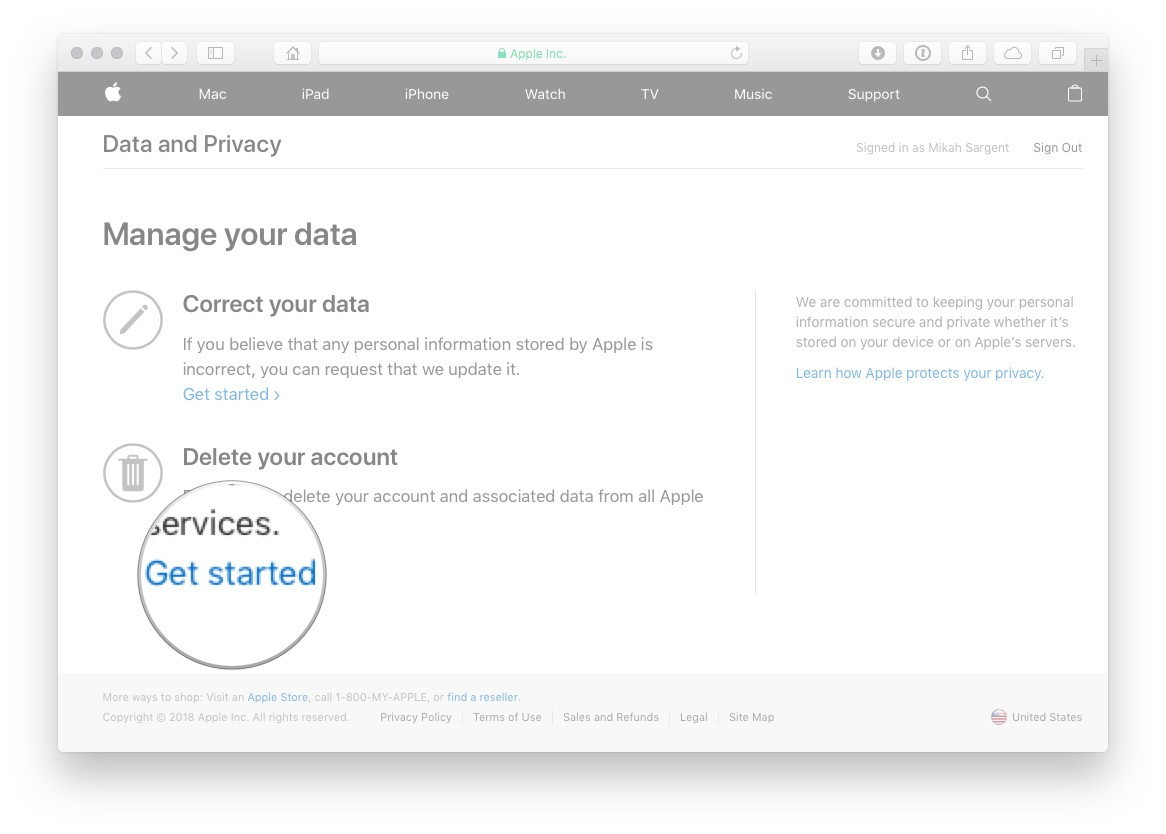
Step 4 – After you log into your account, you will see an option called “Delete your Account”. Underneath this, click on Get started.
Step 5 – For your safety, Apple verifies every Account Deletion Requests. It can be a rather lengthy process. Make sure you Backup your Data, sign out of devices and do as instructed and recommended by Apple.

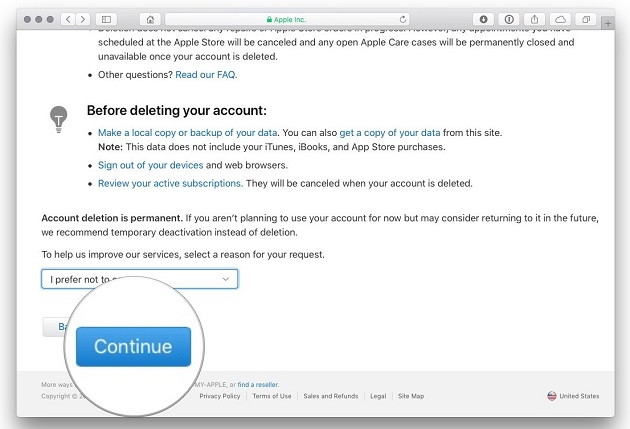
Step 7 – After clicking Get started, scroll down till you see a drop-down menu. You can select your reason for Deleting Your Account. Go past this and just click on Continue.
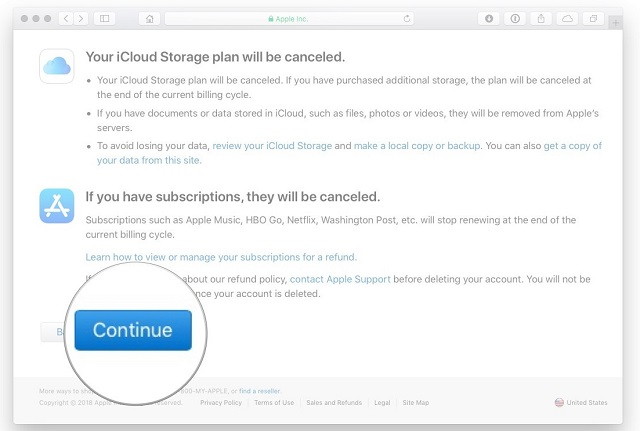
Step 8 – Click on Continue again, and you will be taken to the deletion Terms and Conditions page. Read this carefully before proceeding, click the checkbox to agree with the terms and click Continue.
Step 9 – You may also have to put a contact method before proceeding. You can put a different or the same Email address to receive updates.

Step 10 – Click on Continue. The next page will have your unique access code. You should note this code down for ease. On the next page, they will ask for access code again. This code is vital in case you have to contact Apple.
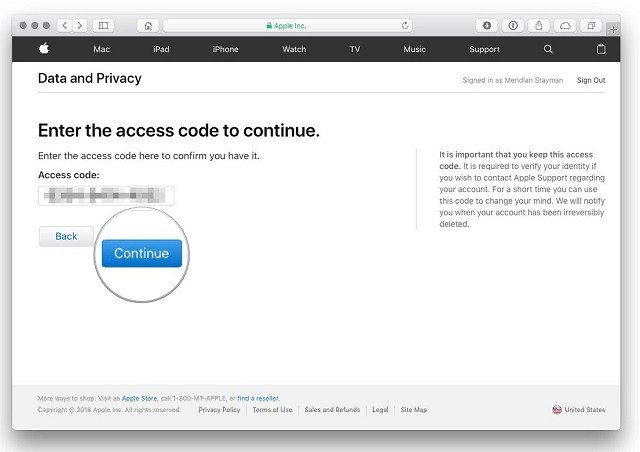
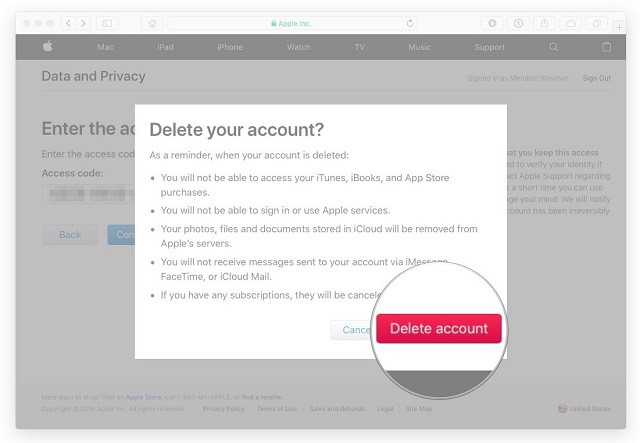
Step 11 – After you click Continue, a new window will open, you can now finally click on Delete Account. That is it! Clicking this will Delete Apple ID.
Check Out –
- How to Delete Documents and Data on iPhone
- How to Delete, Recover Photos from iOS Devices
- How to Fix iPhone X/11 Stuck on Apple Logo
Summary
But remember! This process may take up to a week. Apple verifies your request before Delete Apple ID. This account will remain active until it is finally deleted by Apple. We hope this guide helped you Delete Apple ID!


