We frequently use our mobile devices to edit photos. If you’ve ever tried to edit an image on a Windows computer and received the error “It appears like you don’t have permission to save changes to this file,” you know how frustrating it can be.
Because photo editing is so popular and routine, this may be really frustrating. The error message itself reveals that the lack of permissions is the root cause of the problem you are experiencing.
Contents
Method 1: Start Photo Editor in Admin Mode
When using a third-party picture editor and seeing the error message in question, the first thing to try is opening the editor as an administrator. If you are already editing your pictures in the built-in Windows Photo Editor, you may skip this technique and move on to the next one.
It turns out that the reason you can’t save your edited photo is because the photo editing tool you’re using doesn’t have enough access to the image. Simply starting the programme in administrator mode should grant it full access to the file in question. Here are the steps to take to accomplish this:
Step 1: The first step is to find the location of your image editing software. Also, if you have a shortcut to the programme on your desktop, that will do the trick.
Step 2: Just right-click the programme and pick “Run as administrator” from the context menu that opens.
Step 3: Once you’re finished making changes to the image, click Yes on the UAC dialogue box that opens, and then try saving the file again.
Step 4: Find out if you still get the warning.
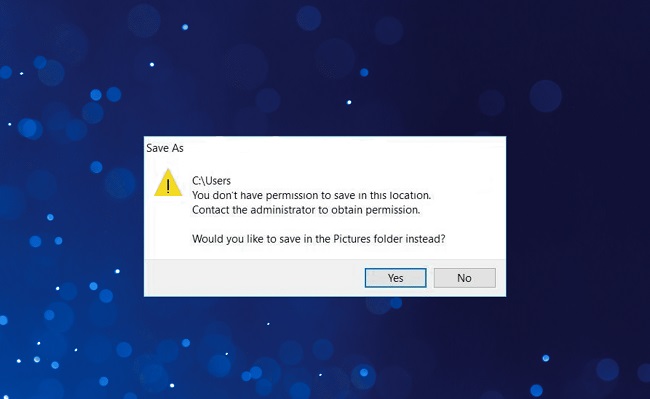
Method 2: You Should Put That Photo Somewhere Else
The picture you’re altering can be saved in a new location, which turns out to be a viable option for fixing the problem. This indicates you should experiment with saving the image somewhere other than its current location.
If the image appears on your Desktop, for instance, you could try saving it elsewhere and seeing if it helps. Those who have had this issue have said that saving the photograph to a new folder solved their problem.
Accordingly, you should give it a shot and see whether it helps you.
Method 3: Picture Attributes Can Be Modified
The file’s properties are a common cause of the error message at hand. This can happen if you download an image from the internet or from OneDrive and then try to open it on your PC. While familiarity with OneDrive has many advantages, it can also lead to problems such as this one.
This is because your operating system has locked the file, rendering it Uneditable. If this is the case, you may easily fix the problem by unblocking the image in the picture’s Properties window. Here are the steps to take to accomplish this:
Step 1: Locate your photo’s folder first.
Step 2: Then, after you get there, right-click the image, and select Properties from the context menu that appears.
Step 3: A “This file came from another computer and might be blocked to help safeguard this machine” statement will then appear at the bottom of the General section. See that the Unblock box is deselected next to it.
Step 4: Also, uncheck the box labelled “Read-only” if you want to prevent the file from being read-only. The next steps are to select Apply and then click OK.
Step 5: After that, try saving the image again following an edit to see if the problem reappears.
Method 4: Fix the Windows Picture Manager And Reset It
Finally, if you’ve tried the aforementioned techniques without success and are editing the image in the Windows Photos programme on your computer, the problem is likely caused by the Photos app and will need to be fixed there.
Simple to implement, this will seek out and attempt to fix any problems with the app. If the Photos app still isn’t working after you’ve tried restoring it, you can do a Reset to effectively reinstall it. To proceed, read the guidelines below:
Step 1: The Windows Settings app can be accessed by pressing the Windows key in conjunction with the letter I.
Step 2: The next step is to navigate to the Apps tab in the Settings box.
Step 3: Locate the Photos app by typing its name into the search bar at the top of the Apps and features screen.
Step 4: When it does, choose it and then select the Advanced settings button.
Step 5: To access Repair and Reset, go to the bottom of the new screen.
Step 6: Try each of them in turn to see if any of them solves the problem.


