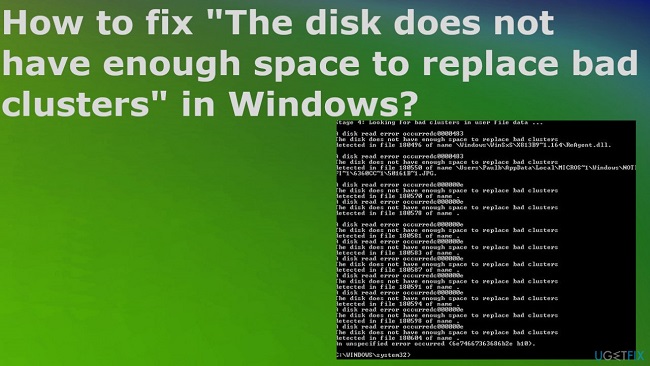
When you try to run CHKDSK and receive the error “The Disk Does not have Enough Space to Replace Bad Clusters,” it’s likely because your hard disc contains bad sectors. To fully resolve this error on your computer, please read the following post and attempt the solutions we have given.
Execute cmd as an administrator, then type “chkdsk /r,” and wait for the process to finish.
Contents
How To Tesolve The Issue When There is Insufficient Disc Space to Delete Problematic Clusters:
Method 1: Hold Off till the Process Is Finished
Do not interrupt the CHKDSK procedure by closing the dialogue box as soon as you see the message “Disk does not have enough space to replace faulty clusters.” The company will keep trying to fix the drive, although doing so could take many hours.
This time could grow if your drive has many damaged sectors that need fixing. Once the CHKDSK utility scan is finished, however, the faulty sectors will be fixed.
Whatever the situation may be, if you continue to encounter the same error after trying the aforementioned steps, try one of the alternate fixes listed below.
Method 2: Rebuild Corrupted Sectors using a Third-Party Program
One day you may discover that the CHKDSK software failed to repair certain faulty sectors on your drive, but the rest of the disc is perfectly fine to use.
Any isolation approach can be used to construct a partition pattern in your disc in which the damaged sectors are not used. To repair the damaged areas of the hard drive, you can use a third-party app like Victoria or HDD Regenerator (both of which will be discussed further below).
There are a number of apps out there that serve this function, but Victoria is both free and more trustworthy than the competition.
Revitalizing Failed Areas with the Help of Victoria:
- Get WinRAR, WinZip, or 7-Zip and unpack the most recent version of Victoria from here.
- To launch Victoria.exe with administrative permissions, right-click on it and select “Run as administrator.”
- After that, go to the “Standard” menu and pick the problematic hard drive.
- To begin, navigate to the SMART menu and select the “Get SMART” button.
- Upon completion, check the “Reallocated Sector Count“; if the number is larger than “10,” faulty sectors are present on your hard drive. If the HDD status reads “GOOD” to the left of the “Get SMART” button, it is likely that you can resolve the issue.
- Click the “Scan” button after selecting “Remap” from the “Tests” menu.
- When you’re done, click “Restart” to see whether it solves the problem. If that’s not the case, head back to Step 6 and begin the “Scan” process by selecting the “Refresh” option rather than the “Remap” option.
- Try to eliminate the mistake by “Restarting” your computer once you’re done.
HDD Regenerator’s Regeneration of Damaged Sectors:
- To begin, just click here to download the application, and then follow the on-screen instructions to complete the installation.
- To launch it with administrative privileges after installation, right-click on it.
- Next, select “Bootable USB Flash” in HDD Regenerator and insert an empty “USB Flash Drive.”
- Make a choice to “Reset Flash Size,” then “OK,” and finally “OK” again.
- At this point, you will be prompted to “Restart” your computer; select this option.
- The boot process has completed and you should now be in this utility. If not, go into the BIOS and set the “Boot Priority” to boot from the USB flash drive.
- Choose the problematic hard drive (HDD) and hit “Enter.”
- To continue, select option #2 from the menu and hit “Enter.”
- Afterward, just hang tight until everything is done (It might take some time).
- After that, you will see all of the HDD-related “Info” shown on your screen.
- It is recommended that at this stage any faulty sectors that are capable of being “Repaired/Regenerated” are actually fixed.
- Finally, remove the flash drive and “Restart” your computer, and the problem should be solved. The Disk Does not have Enough Space to Replace Bad Clusters problem.
Method 3: You can replace the bad hard disc.
If you’ve tried everything on this list and you’re still getting the “The Disk Does not have Enough Space to Replace Bad Clusters” error message, it’s likely that your hard drive is on its last legs and will fail soon.
If there is still time on your warranty, you should file a claim and begin backing up your data immediately. Otherwise, you’ll need to get a new hard disc drive (HDD), albeit an SSD is the superior purchase if you can afford one.
SSDs can last a long period, and some manufacturers even back them up forever.


