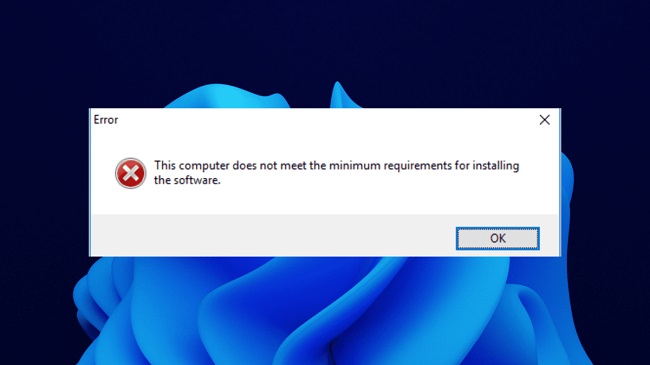
The inclusion of an external graphics card typically disables the integrated GPU, leading to the “This computer does not satisfy the minimum requirements for installing the software” error message.
Furthermore, the inappropriate driver or operating system version can potentially trigger the aforementioned problem. When updating or installing a driver for your Intel GPU that is built into the chipset, you may get this problem.
Contents
Method 1: Put Intel’s Driver and Support Assistant to Good Use.
If you see this issue, the first thing you should do is download the Intel Driver and Support Assistant application, which will analyse your setup and install the appropriate drivers mechanically.
When you can’t quite put your finger on the make and model of your integrated graphics card, this can come in handy. Click the Download Now button on that page to get the utility.
The Intel Driver and Support Assistant will begin downloading. Another option is to look up the specifics of your graphics card. Once you know the model of your graphics card, you can go online and find the appropriate driver.
Method 2: To Manually Set Up The Driver
When attempting to install the driver by launching the driver’s setup file, the error message appears. By installing it manually through Device Manager, you can avoid the mistake. It’s not often advised to install drivers manually, but in this case it’s quite safe to do so.
You should check that the correct driver has been downloaded to your computer before proceeding with the manual installation. To proceed, please read the subsequent instructions:
Step 1: To access the Run dialog, press the Windows Key + R.
Step 2: Once it’s open, type devmgmt.msc into the search bar and hit Enter.
Step 3: To access the Device Manager, click on the corresponding button.
Step 4: Right-click on your graphics card’s item in the expanded Display Adapters section, and then click Properties.
Step 5: The next step is to click the Update Driver button under the Driver tab.
Step 6: Select “Browse my computer for driver software” to start looking for a suitable driver.
Step 7: Then, select “Let me pick from a list of available drivers on my machine.”
Step 8: When prompted, select the Have Disk option and navigate to the directory where your driver is stored. Select the.inf file that can be found in the Graphics folder. Select the.inf file (this will be the one appropriate for your display adapter) and click Open; a Graphics directory is not required.
Step 9: Once you’ve done so, click the Next button and then click Yes on any confirmation prompts that may appear.
Step 10: You must wait till the driver has been installed.
If Display Adapters doesn’t list Intel Graphics, move on to the next option.
Method 3: Allow for Integrated Visuals
Some motherboards are designed to turn off the onboard graphics when an external graphics card is installed. However, there are situations in which that is not the case, and your integrated card may still be inactive.
If that’s the case, head into the system’s BIOS and enable the built-in graphics adapter. We are unable to provide a universal set of instructions for enabling your integrated graphics because the process may differ depending on your computer’s manufacturer.
To give you an approximate idea, it’s normally under a heading like “IGD Multi-Monitor,” “iGPU Multi-Monitor,” or “Intel Integrated GPU” in the Advanced section of your BIOS settings. You’ll need to do some Googling to find the BIOS booting key that works with your computer’s manufacturer.


