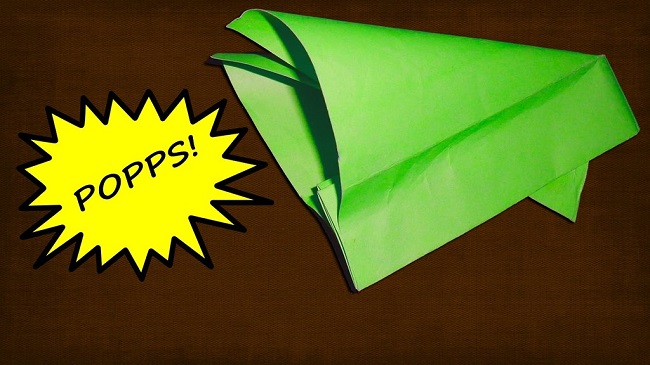
The paper popper is a classic classroom prank. A paper popper can take different forms, but the basic action of gripping a sheet of folded paper and pressing down on it remains the same. This forces air through the holes in the paper, causing the flaps to explode outward in the opposite direction and generating a loud popping sound.
The common belief is that the sound is the result of the paper physically breaking the sound barrier. In reality, a blast wave of air rushes in to fill the void left by the opening pocket.
There are several explanations for the noise, but both have been compared to the crack of a whip, which is an example of breaking the sound barrier. While most papers can be used with poppers, some are more suited for volume than others. Now let’s find out How to Make a Paper Popper.

Contents
How to Make a Paper Popper
Step 1: Make use of a sheet of paper that measures 8.5 in. by 11 in. (22 cm by 28 cm). The paper from your notebook can serve as an alternative to printer paper if you don’t have any. The recommended paper size is an A4 sheet, which is 8.5 by 11 inches (22 by 28 cm) although you can use whatever size paper you like.
Note: Make sure to use square or rectangle paper. Although notebook paper won’t squeak as much or as loudly as printer paper, it serves its purpose just well. The paper doesn’t have to be exactly this size, but it’s easier to fold if it is. The paper should be spread out with the longer sides facing up and down.
Step 2: Raise the paper’s bottom third by folding it in half. In a horizontal fold, bring up roughly 2.5 inches (6.4 cm) of paper and crease it. Fold the paper so that the top is facing away from you. Create a crease and secure the fold by running your finger down the bottom edge.
Step 3: Increase the height of the fold by additional 2.5 inches (64 mm). One inch (25 mm) of unfolded paper should be left over when you’re done. It’s acceptable to have somewhat more or less than 1 inch (2.5 cm).
Step 4: Invert your paper and fold it in half lengthwise. You need to turn the paper over so that the unfolded side is facing down. Next, fold the paper in half along the long axis. When you unfold this section, or bar, you should see it again. With the folds on the outside, your square is complete.
Step 5: Take hold of the tab that protrudes from the back of the folded bar at the top of your paper. You should use one hand to pinch the edge of the folded paper that makes up your top bar. Then, using your other hand, seize the bottom corner. To unfold a piece of paper, pull the bar up and out, and then press it in and down. You can now see that the folded bar has been transformed into two open loops, or pockets. Gather the paper’s bottom corners into a pinch.
Step 6: Verify that you are not pinching the unfurled paper at any point. Don’t squeeze the paper too tightly. If you squeeze the folded section in the middle, it won’t snap. You can picture this as similar to inverting a paper airplane. Take a peek inside the popper from the outside.
Note: You should have made two air pockets that are nearly diamond-shaped. The folded paper will be released from the popper when it is opened. Make sure the folded paper can move freely and that you are not clutching the bottom edge. Stretch out and open the air pockets so you may take in as much air as possible and make more noise.
Step 7: Close the snap. Make the motion of cracking a whip or bouncing a ball by raising and lowering your arm. There should be a snapping noise as the air bubbles explode. The paper can be snapped on a tabletop or in midair. You can add more power by snapping your wrist as you bring your arm down.
Conclusion
A paper popper is a fun and easy way to scare or prank your friends and family. The right way to fold a piece of paper will generate air pockets that, when snapped down, will make a satisfying popping sound. You can make your very own popper out of a single sheet of paper and some strong wrists.


