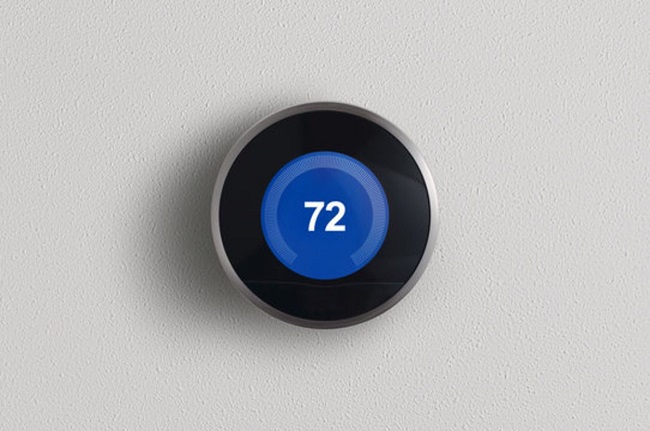
If you’ve recently moved into a new house with a Nest thermostat already installed or you’re looking to transfer your Nest thermostat to a new owner, it’s important to properly reset the device and remove it from your account.
This allows the new owner to set up the thermostat with their preferences and ensures that your personal information is not accessible.
In this detailed article, we will provide step-by-step instructions on how to transfer a Nest thermostat to a new owner, perform a factory reset, remove it from your account, and prepare it for a new home setup.

Contents
Transferring a Nest Thermostat to a New Owner
To transfer your Nest thermostat to a new owner, follow these steps:
- Remove from Your Account: Before transferring the device, you need to remove it from your Nest account. This can be done through the Nest mobile app or the Nest website.a. Using the Nest Mobile App:
- Open the Nest app on your mobile device.
- Select the thermostat you want to remove.
- Go to “Settings” or “Device Settings.”
- Choose “Remove” or “Delete.”
- Follow the on-screen instructions to confirm the removal.
b. Using the Nest Website:
- Visit the Nest website and sign in to your account.
- Select the thermostat you wish to remove.
- Navigate to the device settings or preferences.
- Look for the option to remove or delete the thermostat.
- Confirm the removal when prompted.
- Perform a Factory Reset: To ensure that all personal data and settings are erased, perform a factory reset on the Nest thermostat. This will restore it to its original state as if it were brand new.a. On the Nest Thermostat Device:
- Go to the Nest thermostat itself and access the main menu.
- Select “Settings” and then choose “Reset.”
- Follow the on-screen instructions to confirm the factory reset.
b. Using the Nest Mobile App:
- Open the Nest app and select the thermostat you want to reset.
- Go to “Settings” or “Device Settings.”
- Look for the option to reset the device to factory defaults.
- Follow the prompts to perform the factory reset.
- Provide Documentation: If you have any documentation or manuals related to the Nest thermostat, hand them over to the new owner. This will help them understand its features and functionalities.
- Inform the New Owner: Communicate with the new owner and provide them with any relevant information, such as the Nest thermostat’s model, Wi-Fi details, and installation instructions. This will assist them in setting up and using the device effectively.
Removing a Nest Thermostat from Your Account
To remove a Nest thermostat from your account without transferring it to a new owner, follow the steps outlined in the first section.
Removing the thermostat from your account will disconnect it from your Nest ecosystem, and you will no longer have control or access to the device remotely.
Setting Up a Nest Thermostat in a New Home
If you’ve moved into a new house with a Nest thermostat installed or are setting up a Nest thermostat in a new home, follow these steps:
- Assess Compatibility: Ensure that the Nest thermostat is compatible with your heating and cooling system. Check Nest’s compatibility guide or use the compatibility checker on their website to verify compatibility.
- Perform a Factory Reset: If the Nest thermostat was previously used, perform a factory reset to clear any existing settings and data. This will allow you to start fresh with the setup process.
- Install the Thermostat: Follow the installation instructions provided by Nest to mount and wire the thermostat correctly. If you’re unsure about the installation process, consult a professional HVAC technician to ensure proper installation.
- Connect to Wi-Fi: Power on the Nest thermostat and follow the on-screen instructions to connect it to your home’s Wi-Fi network. This enables remote control and access to the thermostat through the Nest app.
- Set Up Preferences: Configure the thermostat settings according to your preferences, such as temperature thresholds, schedules, and energy-saving features. The Nest app or the thermostat itself will guide you through the setup process.
- Enjoy Smart Home Comfort: With your Nest thermostat successfully set up, you can now take advantage of its smart features and energy-saving capabilities to create a comfortable living environment.
In conclusion, transferring a Nest thermostat to a new owner or preparing it for a new home setup requires a few important steps.
By removing the device from your account, performing a factory reset, and providing necessary documentation, you can successfully transfer ownership.
If you’re setting up a Nest thermostat in a new home, ensure compatibility, follow the installation instructions, connect to Wi-Fi, and customize the settings to your preferences.
Following these steps will enable a seamless transition and optimal use of the Nest thermostat in its new environment.


