When multiple users have access to the same network, sharing resources becomes much more efficient. To share files around the household, for instance, you may create a network drive on your computer.
Because of this, it’s simple to show off your family’s latest vacation photos to everyone back home. It’s a pain to have to hunt down a shared folder every time someone needs to use it. Mapping a network drive to seem as a local drive is a time- and effort-saving option.
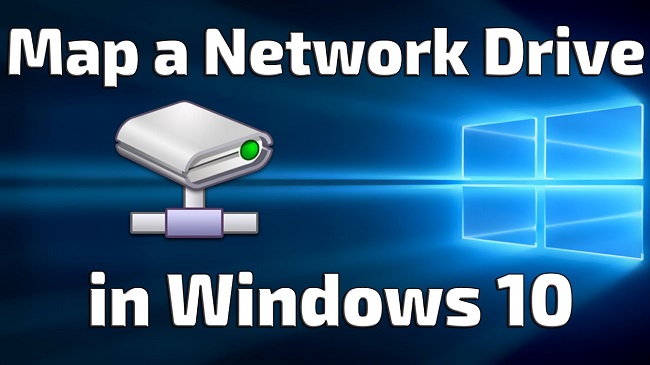
You can map network drive windows 10 by following these steps. By “mounting” a network disk to your computer, you can access remote data as rapidly as if it were stored locally. Thankfully, Windows 10 makes it easy to map network drives.
Contents
How to Map Network Drive in Windows 10
In Windows 10, you can quickly gain access to files stored on another computer by mapping a network drive. A mapped drive facilitates rapid and simple access to a remote hard disk.
By designating a drive letter for the remote hard drive, it can be used in the same way as a conventional drive in a local system.
It’s perfect for storing large amounts of data that won’t fit on your hard drive, accessing files from a tablet, creating backups, and giving many people access to the same files. If you are having trouble map network drive windows 10, try the solutions provided below.
Method 1: Delete Your Current Network Drive and Remap
When upgrading from version 1909 to version 2004 of Windows 10, users often find that they lose the ability to map network drives. When a user on a desktop computer tries to access a network drive, the presence of the error message 0x80070043 is a red flag. This method should work on Windows 10 V2004.
Step 1: To access the Registry Editor in Windows, press the Start button and then type “Regedit” into the search bar. Right-click on the first result that says “Registry Editor” if you’re using a mouse.
Step 2: Choose the option to “Run as Administrator.” To proceed, please select Yes.
Step 3: To open the HKEY CURRENT USER subfolder, press the Enter> key. The network drive name should appear after you click Network (i.e., Z).
Step 4: Select the network drive folder (Z in the preceding example), then right-click and select Delete from the menu. Please confirm by selecting the checkbox.
Step 5: Click HKEY CURRENT USER once more to open it. Select the Program and click it. The Microsoft folder has to be expanded next.
Step 6: The Windows folder will be the last one you encounter. Just click on it to see it in more detail. The CurrentVersion folder can then be expanded by clicking on it.
Step 7: To open a subfolder in Explorer, click on it and then click the plus sign.
Step 8: Launch the Map Network Drive MRU folder by clicking on it. Just below the network icon on the right side of the Window, select it by right-clicking (Default).
Step 9: Then, after making the selection, click the delete button and the Yes button.
Step 10: Get out of Registry Editor and close it down.
Step 11: The computer needs to be restarted.
Step 12: Move your shared folders around. Learn the ropes again by reading this article on how to map a network drive in Windows 10.
Step 13: To access the context menu, click the right mouse button on the empty area of the Registry Editor window.
Step 14: Select DWORD from the drop-down menu that appears when you click the New button (32-bit Value).
Step 15: Create a REG DWORD file named ProviderFlags. To set the ProviderFlags flag to 1, right-click the key and select “Value.”
Step 16: Just hit the “OK” button. Remove yourself from the Registry Editor by closing it.
Method 2: Update to 20H2 Version
One more thing that could be causing the Network Drive map to fail is an outdated version of Windows 10. You may recall that on May 10, 2021, Windows began rolling out the 21H1 upgrade. The mapping problem could be due to an outdated network disk configuration. This issue may be resolved by downgrading to Windows 10 version 20H2.
Step 1: To access Windows’s configuration menus, select the Start menu in your taskbar (gear icon).
Step 2: Moving on, select Update & Security.
Step 3: Then, go to Windows Update on the left side of the screen. Select the button labeled “Check for updates.”
Step 4: Before selecting Download and Install, go to View optional updates.
Step 5: Choose the option to Restart now.
Step 6:If this doesn’t fix the problem, move on to the next one.
Conclusion
Mapping a network location makes it simple to create a shortcut to a certain disk or folder. Once a network drive has been mapped, it will appear as a new drive under This PC in File Explorer, allowing you to access the shared files you need in the same way as if they were stored on your local hard drive. In Windows 10, we’ll show you how to create a shortcut to a network drive.


