WYZE cameras are popular for their affordability and feature-rich capabilities, but sometimes users encounter issues when the cameras fail to connect to their local network.
This article aims to provide a comprehensive troubleshooting guide for resolving connectivity problems with WYZE cameras (specifically the V2 and V3 models) when encountering errors such as “Cannot Find Specified Network Name” or “Connection Failed after Update.”
By following these steps, you can often restore the connection and regain control over your WYZE camera.
Contents
Causes of WYZE Camera Failing to Connect to Local Network
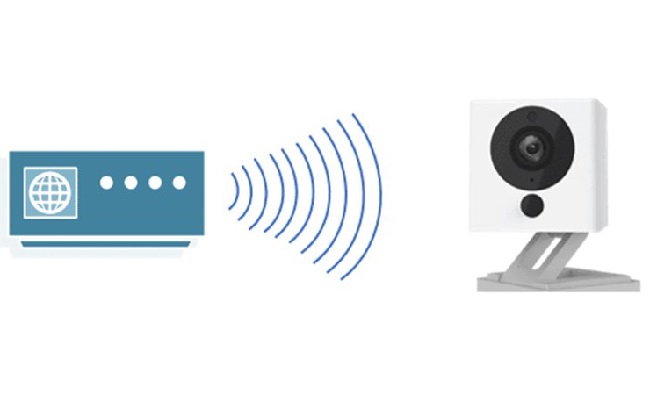
Several factors can contribute to a WYZE camera’s inability to connect to the local network:
- Incorrect Wi-Fi Credentials: Inputting incorrect network name (SSID) or password during the setup process can prevent the camera from connecting to the Wi-Fi network.
- Weak Wi-Fi Signal: If the WYZE camera is located too far from the Wi-Fi router or is obstructed by physical barriers, it may struggle to maintain a stable connection.
- Compatibility Issues with Network Frequencies: Some WYZE cameras, particularly older models, may only support specific Wi-Fi frequency bands (2.4 GHz or 5 GHz). Ensure that your router is broadcasting the compatible frequency.
- Router Configuration Issues: In some cases, router settings or security protocols (such as MAC filtering or firewall rules) may prevent the WYZE camera from establishing a successful connection.
- Firmware or App Update Problems: Firmware or app updates can sometimes introduce bugs or compatibility issues, leading to connection failures.
Troubleshooting Steps for WYZE Camera Connection Issues
Follow these troubleshooting steps to resolve WYZE camera connection issues:
- Check Wi-Fi Credentials: Ensure that you are entering the correct network name (SSID) and password during the setup process. Double-check for any typos or capitalization errors.
- Wi-Fi Signal Strength: Move the WYZE camera closer to the Wi-Fi router to test the signal strength. If the signal is weak, consider using a Wi-Fi range extender or relocating the router to improve coverage.
- Verify Wi-Fi Frequency Band: Check if your WYZE camera supports the same frequency band as your router (2.4 GHz or 5 GHz). Adjust your router settings accordingly to broadcast the compatible frequency.
- Router Configuration Checks: Review your router’s settings and ensure that there are no restrictions or security measures preventing the WYZE camera from connecting. Disable MAC filtering or temporarily disable firewall rules to test the connection.
- Restart Camera and Router: Power cycle both the WYZE camera and the router. Unplug them from their power sources, wait for a few seconds, then plug them back in. This simple restart can resolve temporary glitches.
- Reset Camera Settings: Perform a factory reset on the WYZE camera by holding down the setup button for about 20 seconds until the status light flashes yellow. Follow the setup process again to reconnect it to your network.
- Check for Firmware and App Updates: Ensure that your WYZE camera’s firmware and the WYZE app are up to date. Update both if new versions are available to address any known issues or bugs.
- Contact WYZE Support: If all else fails, reach out to WYZE customer support for further assistance. Provide them with detailed information about your issue and the troubleshooting steps you have already taken.
Conclusion
Encountering connection issues with your WYZE camera can be frustrating, but by following these troubleshooting steps, you can often resolve the problem.
Double-checking Wi-Fi credentials, optimizing signal strength, verifying frequency compatibility, reviewing router settings, and performing restarts or resets can help reestablish the connection.
Keeping your firmware and app up to date is also important. If you’re unable to resolve the issue, contacting WYZE support will provide you with additional guidance and assistance.


 - Cannot Find Specified Network Name, Connection Failed after Update.)