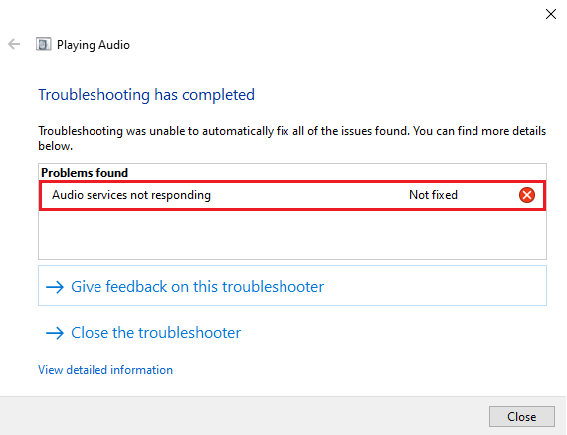
The error “Audio Services Not Responding” generates through Windows sound troubleshooter which runs when you face problems with the sound devices. The meaning of Audio Services Not Responding error is that your sound device is in an unresponsive where it is not responding to the commands or messages.
Audio Services Not Responding is a common error and it occurs when you upgrade your version of windows using the Windows Update. The solution to this problem are mentioned below. If all the solutions don’t work then you should do the system restore.
Contents
How to Fix Audio Services Not Responding Windows 10
Solution 1 – Restarting the Audio Services
Beside your sound hardware and the drivers, audio service is present which is responsible for managing the audio on the computer.
Step 1 – Apply the shortcut “services.msc” and then press Enter.
Step 2 – Find the option “Windows Audio” after opening the services. Right-click on it and tap on “Restart“.
Step 3 – Click on the entry again and select “Properties“. You will see an option as Startup type and set it as “Automatic“. Tap on Apply to save the changes and then exit.
Step 4 – Access back to services and look for the option “Windows Audio Endpoint Builder“. Right-click on it and tap on “Restart“. If it is not started yet, click on “Start“.
Step 5 – After starting it open its properties and apply “Automatic” in the startup type. Tap on Apply to save the changes and then exit.
Step 6 – Reboot the PC and check if the Audio Services Not Responding error is solved or not.
Solution 2 – Installing Realtek or Any High Definition Audio Device
Step 1 – Press “Windows + X” to launch the start menu and select “Device Manager” from the list of options that are available.
Step 2 – Expand the “Sound, video and game controllers” category in the Device Manager.
Step 3 – Right-click on your sound device and tap on “Update Driver“. Now you will see two options select “Browse my computer for driver software”.
Step 4 – Click on the option “Let me pick from a list of available drivers on my computer“.
Step 5 – Untick the option “show compatible hardware” to ensure that all the drivers are there in the driver’s list. Find and click on the option “High definition audio device“. Now press Next.
Step 6 – Follow the instructions to complete the installation. Reboot your PC and check if this solves the Audio Services Not Responding issue.
If the above method doesn’t work then try downloading the drivers from your manufacturer’s website and install them using the method listed above.
Solution 3 – Checking the Audio Components
If the audio components are not working properly it may be the cause of getting this message. Disable your antivirus for some time as sometimes they block some services which create difficulties.
Step 1 – Apply the shortcut “services.msc” and then press Enter.
Step 2 – Make sure that the services mentioned below are in the running state. If they do not then right-click on them and tap on “Start“.
- RPC Endpoint Mapper
- Remote Procedure Call (RPC)
- DCOM Server Process Launcher
Step 3 – Check that they are set to “Automatic” in Startup type. If not then set it as automatic.
Step 4 – Reboot the PC and check if the Audio Services Not Responding issue is solved or not.
Solution 4 – Executing Some of the Command Prompt Instructions
For applying this solution there is a need for the administrator account.
Step 1 – Apply the shortcut “Windows + S“, type “command prompt“, right-click on the application and the tap on “Run as administrator“.
Step 2 – When command prompt gets opened type the following command and press enter after typing each command.
net localgroup Administrators /add networkservice
net localgroup Administrators /add localservice
Step 3 – After executing both the operations, type “Exit” and press enter.
Step 4 – Reboot your PC and check if the Audio Services Not Responding issue is solved or not.
Solution 5 – Installing the Default Sound Drivers
Step 1 – Press “Windows + S” to launch the search box. Type “system” in it and click on the first item which returns in the result.
Step 2 – Click on “Advanced system settings” present on the left side of the screen.
Step 3 – Open the hardware tab and click on the “Device Installation Settings“.
Step 4 – Select the option “No (your device might not work as expected)“. Tap on Save changes and exit. This change in settings will disable the Windows update from updating the audio drivers automatically.
Step 5 – Press “Windows + X” to open the start menu and tap “Device Manager” from the list.
Step 6 – Expand the “Sound, video and game controllers” category in the Device Manager. Right-click on the type of your sound device and select and “Uninstall device“.
Step 7 – Tick the uninstall device check box to uninstall the drivers and proceed with the uninstallation.
Step 8 – After the device is uninstalled, right-click on any empty space on the device manager and tap “Scan for hardware changes“. Now your computer will automatically install the default drivers present on your computer.
Step 9 – Reboot your PC and see if Audio Services Not Responding solves the issue.
Recommended:
- Modern Setup Host Stopped Working
- Outlook Keeps Asking For Password
- CompatTelRunner.exe High CPU and Disk Usage
- NVIDIA Display Settings are Not Available
Final Words
I hope that the Audio Services Not Responding error is resolved by now. If any of the methods don’t work then the last option is a system restore.


