Repeatedly encountered by users is the ‘System Thread Exception Not Handled‘ error. Introduced by Microsoft, Windows is one of the most efficient and reliable operating systems invented in the history of the digital world. It has satisfied customers for more than 3 decades, which explains why it has been doing outstandingly well. It has been providing its users with countless benefits over the years. However- they are not enough to overlook the few setbacks that it comes with.
Just as all operating systems or any utilities in the digital world, Windows is one that is prone to specific errors. It is still made and improvised by a group of humans, all of whom are capable of making mistakes. Sometimes, Windows presents errors and glitches that restrict some of its functions.
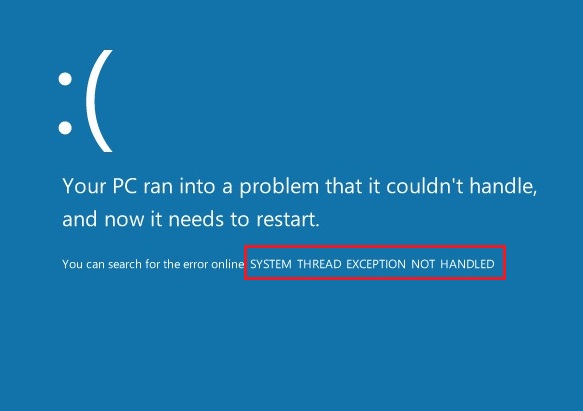
There can be numerous reasons for System Thread Exception Not Handled error to appear, but the most common one is due to incompatible drivers. It is most likely to occur during the booting of your PC. If received, System Thread Exception Not Handled error keeps you from logging into Windows, hence preventing you from performing all subsequent tasks and activities.
Contents
How To Fix System Thread Exception Not Handled Error
Now that you know all the necessary details associated with the System Thread Exception Not Handled error, you would understand why it may cause frustration for those who face it. Not to worry; if you are seeking a solution to get rid of the system_thread_exception_not_handled error, you have come to the right place. Listed below are a few solutions you can try out on your own to eliminate it from your computer and proceed with your tasks:
Method 1 – Rename The Dilemmatic Driver
Step 1 – To start with, insert the ‘Windows Recovery Drive or System Repair Disk‘ and select your desired language. Once done, click on ‘Next‘.
Step 2 – Go to the ‘Repair‘ option at the left bottom of your screen.
Step 3 – Select ‘Troubleshoot‘ followed by ‘Advanced Options‘.
Step 4 – Once redirected, navigate to ‘Command Prompt‘ to open it.
Step 5 – Feed the following command onto the prompt, exactly as mentioned below:
C:cd\windows\system32\drivers
ren FILENAME.sys FILENAME.OLD
Step 6 – Type the word ‘Exit‘ and then restart your PC.
Check out:
Method 2 – Immobilize Hardware Acceleration
Step 1 – First up, run Google Chrome search engine and proceed to ‘Settings‘.
Step 2 – Navigate to the option titled ‘Advanced Settings‘ and click on it.
Step 3 – Under the heading ‘System‘, you will find an option that reads ‘Use Hardware Acceleration When Required‘. Unmark it.
Step 4 – Save your changes and subsequently exit your browser. Proceed towards Restarting your PC.
Method 3 – Uninstall The Malfunctioning Driver
Step 1 – To start with, press the Windows key and ‘X‘ at the same time. From the menu that opens, select ‘Command Prompt‘.
Step 2 – Enter the following command as is onto the prompt and press Enter:
bcdedit /set {default} bootmenupolicy legacy
Step 3 – This will enable the advanced legacy boot on your computer. Once done, exit the command prompt and restart your PC.
Step 4 – Next up, constantly press the F8 key to have the ‘Advanced Boot Option‘ appear on your screen.
Step 5 – When it does, select ‘Safe Mode‘ and then proceed.
Step 6 – Feed “devmgmt.msc” into the Run box and you will be taken to the Device Managers.
Step 7 – From the list, uninstall the drivers that are causing trouble. To confirm each Uninstallation, click on ‘OK‘.
Step 8 – Once completed, install the latest version of each driver from the manufacturer’s website.
Step 9 – Finally, proceed towards restarting your PC when all tasks have been completed.
Method 4 – Restore Your PC To A Former Moment
Step 1 – To start with, connect the Windows Installation Media or Recovery Drive and proceed by selecting your preferred language.
Step 2 – You will be presented with an option ‘Repair your Computer’ at the bottom of your screen. Click on it.
Step 3 – Select ‘Troubleshoot’ followed by ‘Advanced Options‘.
Step 4 – Once redirected, click on ‘System Restore‘. On the next screen, you will be given certain instructions to restore your PC. Follow them properly.
Step 5 – Once done, end by Restarting your PC. This will implement the actions you have just done.
Also Read:
- DPC Watchdog Violation
- System Thread Exception Not Handled
- WMI Provider Host High CPU Usage
- Sim Not Provisioned MM#2
Conclusion
These are all the solutions we have to offer for you to try and eliminate the system_thread_exception_not_handled error. These methods may not be the most suitable ones for your computer, but one or the other from the above list is likely to solve your problem.
They are even suggestible for combating other errors such as the ‘Windows 10 Random Restart‘ or ‘Windows 10 Slow Shutdown Error‘. If they do not solve your problem, however, then you might consider approaching a formal operator for the same.


